Building a blog
In this tutorial we assume you have set up a Firebase project and a FireCMS instance. If you don't, check the Quickstart and Firebase setup section sections
In this section we will break down the schema configuration we use to build the blog section in our demo.
We don't need to explain the benefits of using a headless CMS instead of a traditional blogging approach like WordPress, but here are a few:
- it is easier and faster to develop on, since there is no coupling between frontend and backend.
- since your frontend is independent, you are free to change it in any way you want, same goes for the backend.
- it is suited for omnichannel applications, you can use the same backend and CMS with multiple apps and websites
- smaller, specialised teams
- scalability
- less costs
- flexibility and simplicity
When you are done implementing the steps in this tutorial, you may want to check how to build a simple next.js frontend app (or any other frontend framework). We suggest next.js since it uses React, and it will make things easier.
Let's build a blog with FireCMS
This is the type that we will use:
type BlogEntry = {
    name: string,
    header_image: string,
    created_at: Date,
    status: string,
    content: any[]
}
Basic properties
First let's create some simple properties that will be saved at the root of our documents.
We want to have title, that must be always set, so we set the required prop in validation to true:
buildProperty({
    title: "Title",
    validation: { required: true },
    dataType: "string"
})
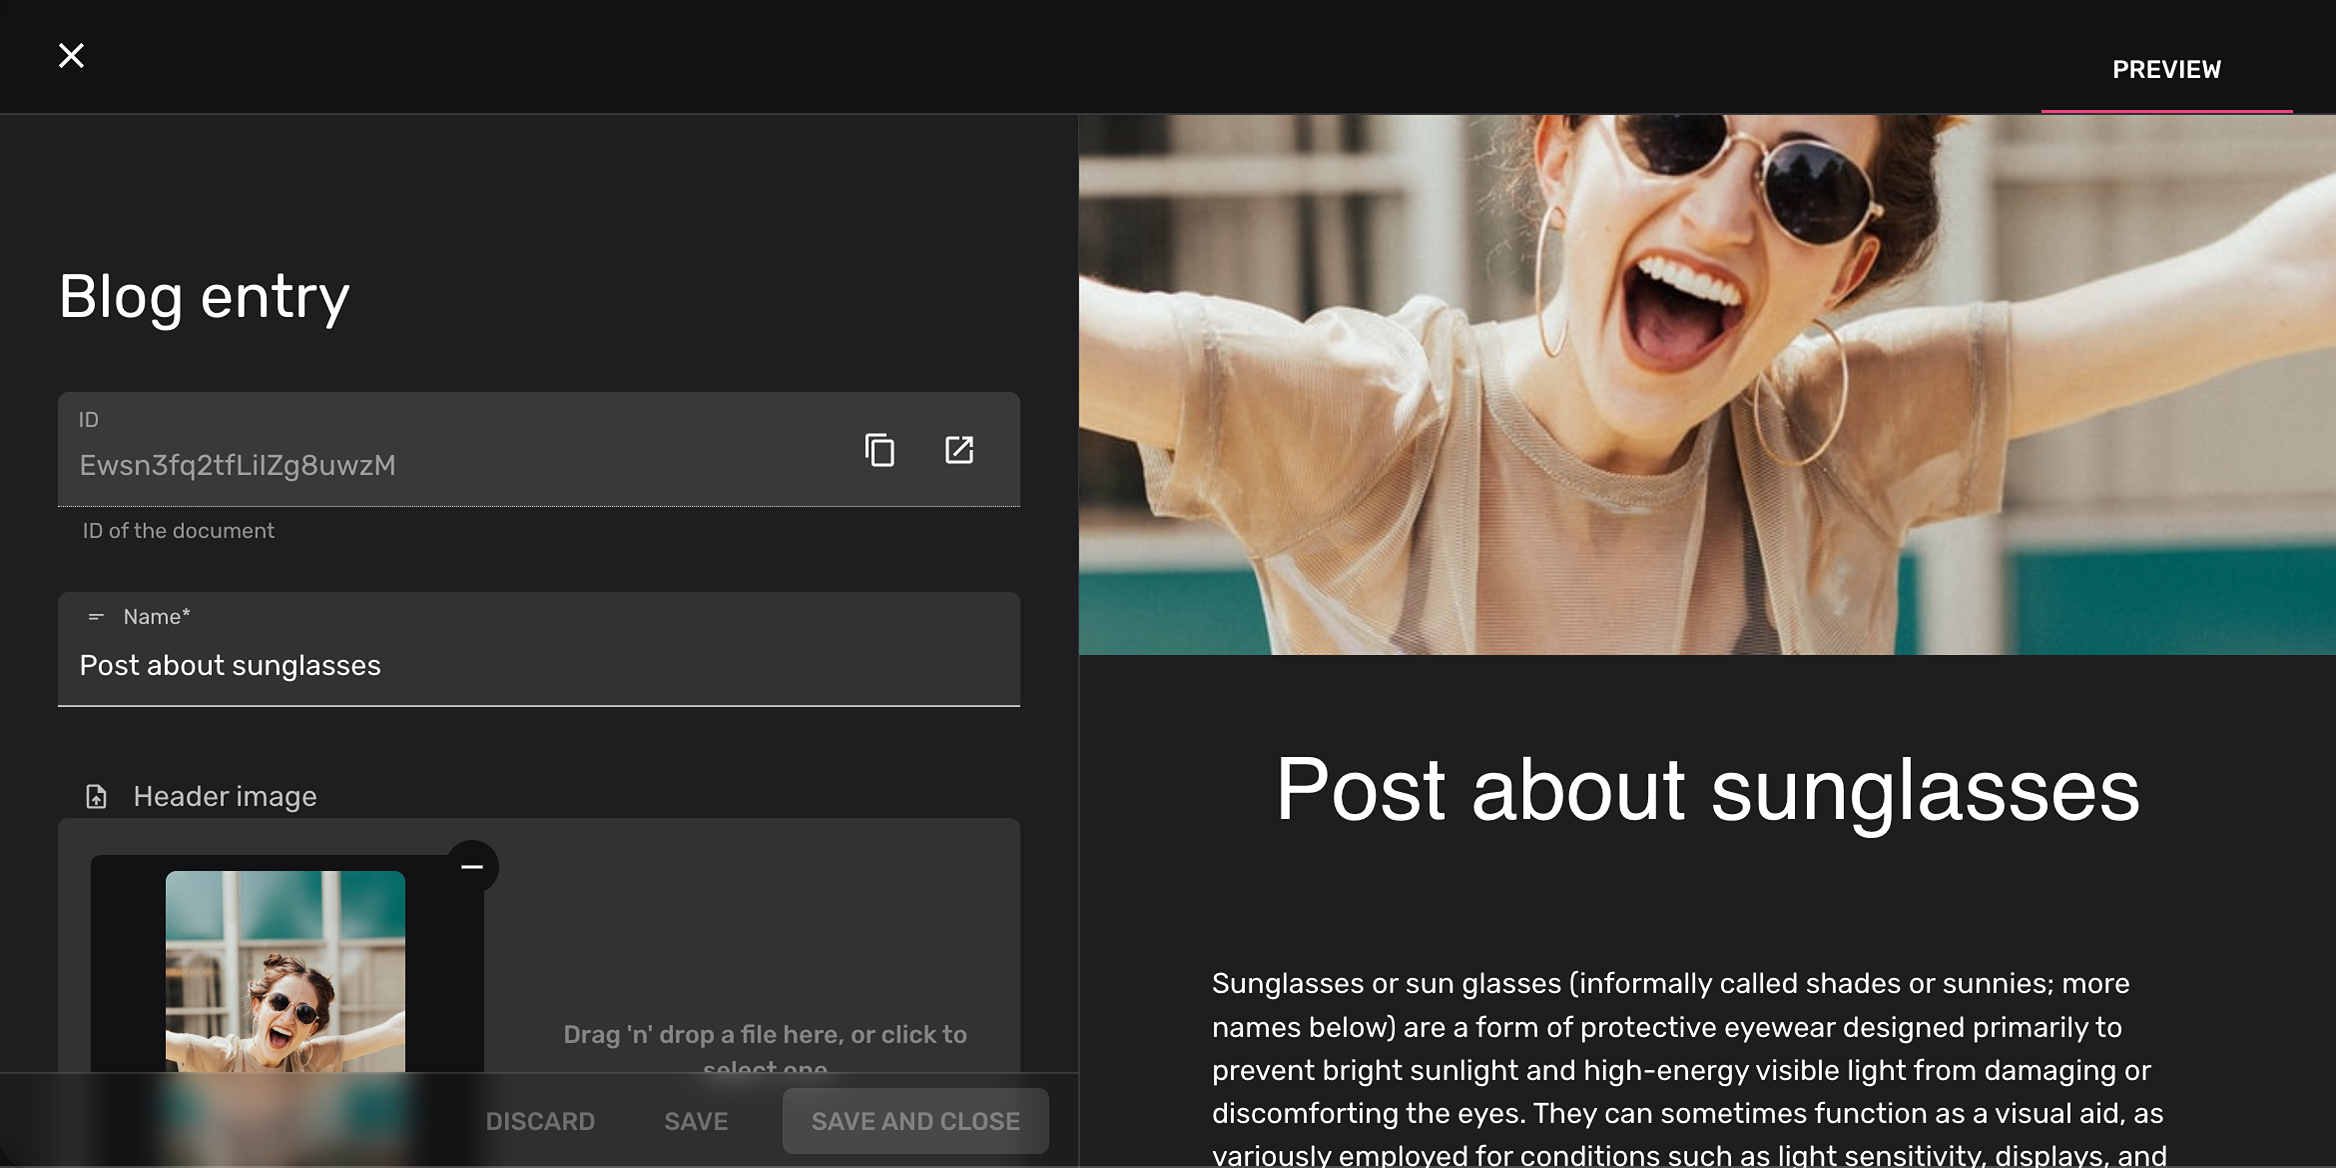
An image that will be on the top of the blog post:
buildProperty({
    title: "Header image",
    dataType: "string",
    storage: {
        storagePath: "images",
        acceptedFiles: ["image/*"],
        metadata: {
            cacheControl: "max-age=1000000"
        }
    }
})
and a "created at" date that gets autogenerated when the document is created.
buildProperty( {
    title: "Created at",
    dataType: "timestamp",
    autoValue: "on_create"
})
You could also add a date field that gets updated whenever a document is saved, with this configuration:
buildProperty( {
    title: "Updated on",
    dataType: "timestamp",
    autoValue: "on_update"
})
Conditional status field
Now we want to add a status string property that will have two possible values:
published and draft. We only want to allow the published
state when the rest of the fields are correct.
In this case we will keep it simple, and we will just check if the header image is set:
buildProperty(({ values }) => ({
    title: "Status",
    validation: { required: true },
    dataType: "string",
    columnWidth: 140,
    enumValues: {
        published: {
            label: "Published",
            disabled: !values.header_image,
        },
        draft: "Draft"
    }
}))
Content of the blog entry
We want to make the content of our blog entries dynamic so that content managers are able to create complex entries with different components.
The content will be an array of objects, that will have a type attribute that
will work as a discriminator and a value attribute.
We will define 3 types:
images: an array of imagestext: a Markdown text fieldproducts: an array of references to another collection,productsin this case.
We use the oneOf prop in array properties which is designed exactly for this
use case. You just need to define
buildProperty({
    title: "Content",
    description: "Example of a complex array with multiple properties as children",
    validation: { required: true },
    dataType: "array",
    columnWidth: 400,
    oneOf: {
        typeField: "type", // you can ommit these `typeField` and `valueField` props to use the defaults
        valueField: "value",
        properties: {
            images: buildProperty({
                title: "Images",
                dataType: "array",
                of: buildProperty({
                    dataType: "string",
                    storage: {
                        storagePath: "images",
                        acceptedFiles: ["image/*"],
                        metadata: {
                            cacheControl: "max-age=1000000"
                        }
                    }
                }),
                description: "This fields allows uploading multiple images at once and reordering"
            }),
            text: buildProperty({
                dataType: "string",
                title: "Text",
                markdown: true
            }),
            products: buildProperty({
                title: "Products",
                dataType: "array",
                of: {
                    dataType: "reference",
                    path: "products" // you need to define a valid collection in this path
                }
            })
        }
    }
})
This array configuration will create objects in the datasource with the format:
{
  // ...
  content: [
    {
      "type": "text",
      "value": "Sunglasses or sun glasses (informally called shades or sunnies; more names below) are a form of protective eyewear designed primarily to prevent bright sunlight and high-energy visible light from damaging or discomforting the eyes. They can sometimes function as a visual aid, as variously employed for conditions such as light sensitivity, displays, and ultraviolet protection, and to improve visual clarity. In the early 20th century, they were also known as sun cheaters (or sun glasses) and were made from cardboard, tin, and other metals, with lenses made from crudely ground glass. They were also available in the form of goggles, with improvements in technology, sunglasses have become more Earth-friendly, and the use of plastics and other modern materials is now commonplace. "
    },
    {
      "type": "images",
      "value": [
        "images/photo-1511499767150-a48a237f0083.jpeg",
        "images/photo-1577803645773-f96470509666.jpeg"
      ]
    },
    {
      "type": "text",
      "value": "Sunglasses have long been associated with celebrities and film actors primarily from a desire to mask their identity. Since the 1940s, sunglasses have been popular as a fashion accessory, especially on the beach. "
    },
    {
      "type": "products",
      "value": [
        {
          "id": "B001UQ71F0",
          "path": "products",
        },
        {
          "id": "B001UQ71F0",
          "path": "products",
        }
      ]
    }
  ],
  // ...
}
Creating a preview view
Let's make use of another feature of FireCMS: custom views for entities!
FireCMS allows you to add additional views to your entity views, that are defined as React components. The props you receive for building this component are the entity collection, the original entity and the modified values.
In this case, we will create some React components to represent our blog entry
like the frontend app would do. This is the same code that you could
use in any SSR framework using React, such as next.js
You could also have more complex setup that sends your data to your SSR app through an API and render the result.
You can find the code for BlogEntryPreview in https://github.com/Camberi/firecms/blob/v1/example/src/SampleApp/custom_schema_view/BlogEntryPreview.tsx
Complete code:
If we put together all the parts that we have build in this tutorial, we get the following code for the blog collection:
import { buildSchema, buildProperty } from "@camberi/firecms";

export const blogSchema = buildSchema({
    name: "Blog entry",
    views: [{
        path: "preview",
        name: "Preview",
        builder: (props) => <BlogEntryPreview {...props}/>
    }],
    properties: {
        name: buildProperty({
            title: "Name",
            validation: { required: true },
            dataType: "string"
        }),
        header_image: buildProperty({
            title: "Header image",
            dataType: "string",
            storage: {
                mediaType: "image",
                storagePath: "images",
                acceptedFiles: ["image/*"],
                metadata: {
                    cacheControl: "max-age=1000000"
                }
            }
        }),
        content: buildProperty({
            title: "Content",
            description: "Example of a complex array with multiple properties as children",
            validation: { required: true },
            dataType: "array",
            columnWidth: 400,
            oneOf: {
                typeField: "type", // you can ommit these `typeField` and `valueField` props to use the defaults
                valueField: "value",
                properties: {
                    images: buildProperty({
                        title: "Images",
                        dataType: "array",
                        of: buildProperty({
                            dataType: "string",
                            storage: {
                                mediaType: "image",
                                storagePath: "images",
                                acceptedFiles: ["image/*"],
                                metadata: {
                                    cacheControl: "max-age=1000000"
                                }
                            }
                        }),
                        description: "This fields allows uploading multiple images at once and reordering"
                    }),
                    text: buildProperty({
                        dataType: "string",
                        title: "Text",
                        markdown: true
                    }),
                    products: buildProperty({
                        title: "Products",
                        dataType: "array",
                        of: {
                            dataType: "reference",
                            path: "products" // you need to define a valid collection in this path
                        }
                    })
                }
            }
        }),
        status: buildProperty(({ values }) => ({
            title: "Status",
            validation: { required: true },
            dataType: "string",
            columnWidth: 140,
            enumValues: {
                published: {
                    label: "Published",
                    disabled: !values.header_image,
                },
                draft: "Draft"
            }
        }))
    },
    defaultValues: {
        status: "draft"
    }
})