How we built NEAT, the 3D gradient tool

The first time I saw the Stripe shader animation on their website, I was hooked. I really wanted to have something that cool for the websites I was working on and tried to reverse engineer what Stripe does. I must say, it wasn’t easy! I had to learn a lot about shaders, WebGL, and three.js to get to the point where I could create something similar.
We are going to be using a lot of Perlin noise functions to generate the waves and the gradient. Perlin noise is a type of gradient noise used in computer graphics to create natural-looking textures. It was invented by Ken Perlin in the 1980s. The noise is generated by interpolating between random values. It is locally stable, so it is well-suited for generating animations by including a time parameter in the noise function.
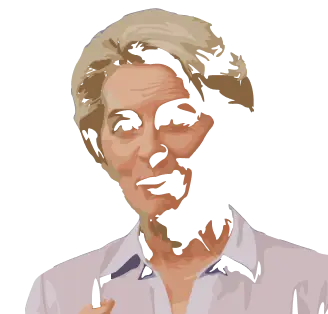
The Stripe animation is really a 3D shape, a plane divided in triangles acting like a flag that has waves passing through it. On top of that, there is a gradient that changes color and brightness. That is really the essence of the effect.
I tried achieving the same effect with basic three.js, but it was really hard to get it right. I quickly realized that I need to use custom shaders, one for determining the position of each vertex in the plane and another one for assigning the color of each pixel. The first iterations were calculating the position of each vertex in the CPU and sending it to the GPU. This was really slow, and I had to find a way to calculate the position of each vertex in the GPU.
Creating the Vertex Shader
The vertex shader is in charge of determining the position of each vertex. We have this loop running on the CPU
using requestAnimationFrame that triggers updates. Each vertex is passed through a Perlin noise function. This Perlin
function receives the coordinates of the shader, as well as the elapsed time and some parameters that we use to tweak
the waves animation. We can change the frequency of the waves, the amplitude, the speed, and the horizontal and
vertical pressure.
Creating the Fragment Shader
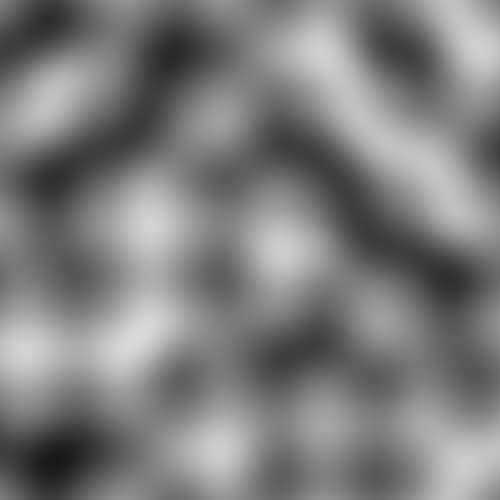
The fragment shader is in charge of determining the color of each pixel. NEAT uses from 1 to 5 colors as input. Each of these colors is passed through a Perlin noise function that generates a pattern like the one represented above. The colors are then mixed together based on the noise value. If we don’t apply any blending to the colors, the result will be a sharp transition between the colors, as represented in the video above. We can apply a blending factor to the colors so that the transition between them is smoother. We can also apply horizontal and vertical pressure to the color patterns, so they are more or less pronounced.
Post Processing
If we put it all together, we get a 3D gradient that morphs and changes. At this point, we can apply some post-processing effects to the final image. We can change the brightness and saturation of the colors. It turns out this is pretty easy to do with WebGL shaders once you have calculated the color of each pixel. We can also add some shadows and highlights based on the vertex normals. This is a simple way to add some depth to the image. In the latest versions, we added some grain to the image to make it look more like a film. We can change the scale, intensity, and speed of the grain.
The Editor
Having all this power in a single shader is really cool, but it’s not easy to tweak the parameters. That’s why we created a simple editor that allows you to change the parameters in real-time. You can change the speed, the frequency of the waves, the amplitude, the colors, the blending, the brightness, the saturation, the grain, and the resolution of the image, among other things. All this is performed in real-time. Every change is passed to the shaders as a uniform variable, and the image is re-rendered.
This is really cool because you can see the changes immediately. Until we had the editor, we were tweaking the parameters in the code and reloading the page to see the changes. This was really slow and cumbersome. It was also hard to know if we were going in the right direction. It was more a process of trial and error. It was not until we had the editor that we could really see the potential of the tool. We could create a lot of different patterns and see how they look in real-time. We could also save the patterns we liked and keep them as presets.
At this point, we were able to fine-tune a gradient to make it look exactly like the Stripe gradient. It has been quite a journey, but we are really happy with the results. Once you have a gradient you like, you can export it as a JSON object and use it in your projects. We have created a lot of patterns with NEAT, and we are really happy with the results. We have used it in many projects, and it has always been a hit. We are really proud of it, and we hope you like it too.
Check the NEAT website to see some examples of what you can do with it. You can also check the NEAT repository to see the code and the editor in action.