Quickstart + Next.JS frontend
You can check a demo of this template:
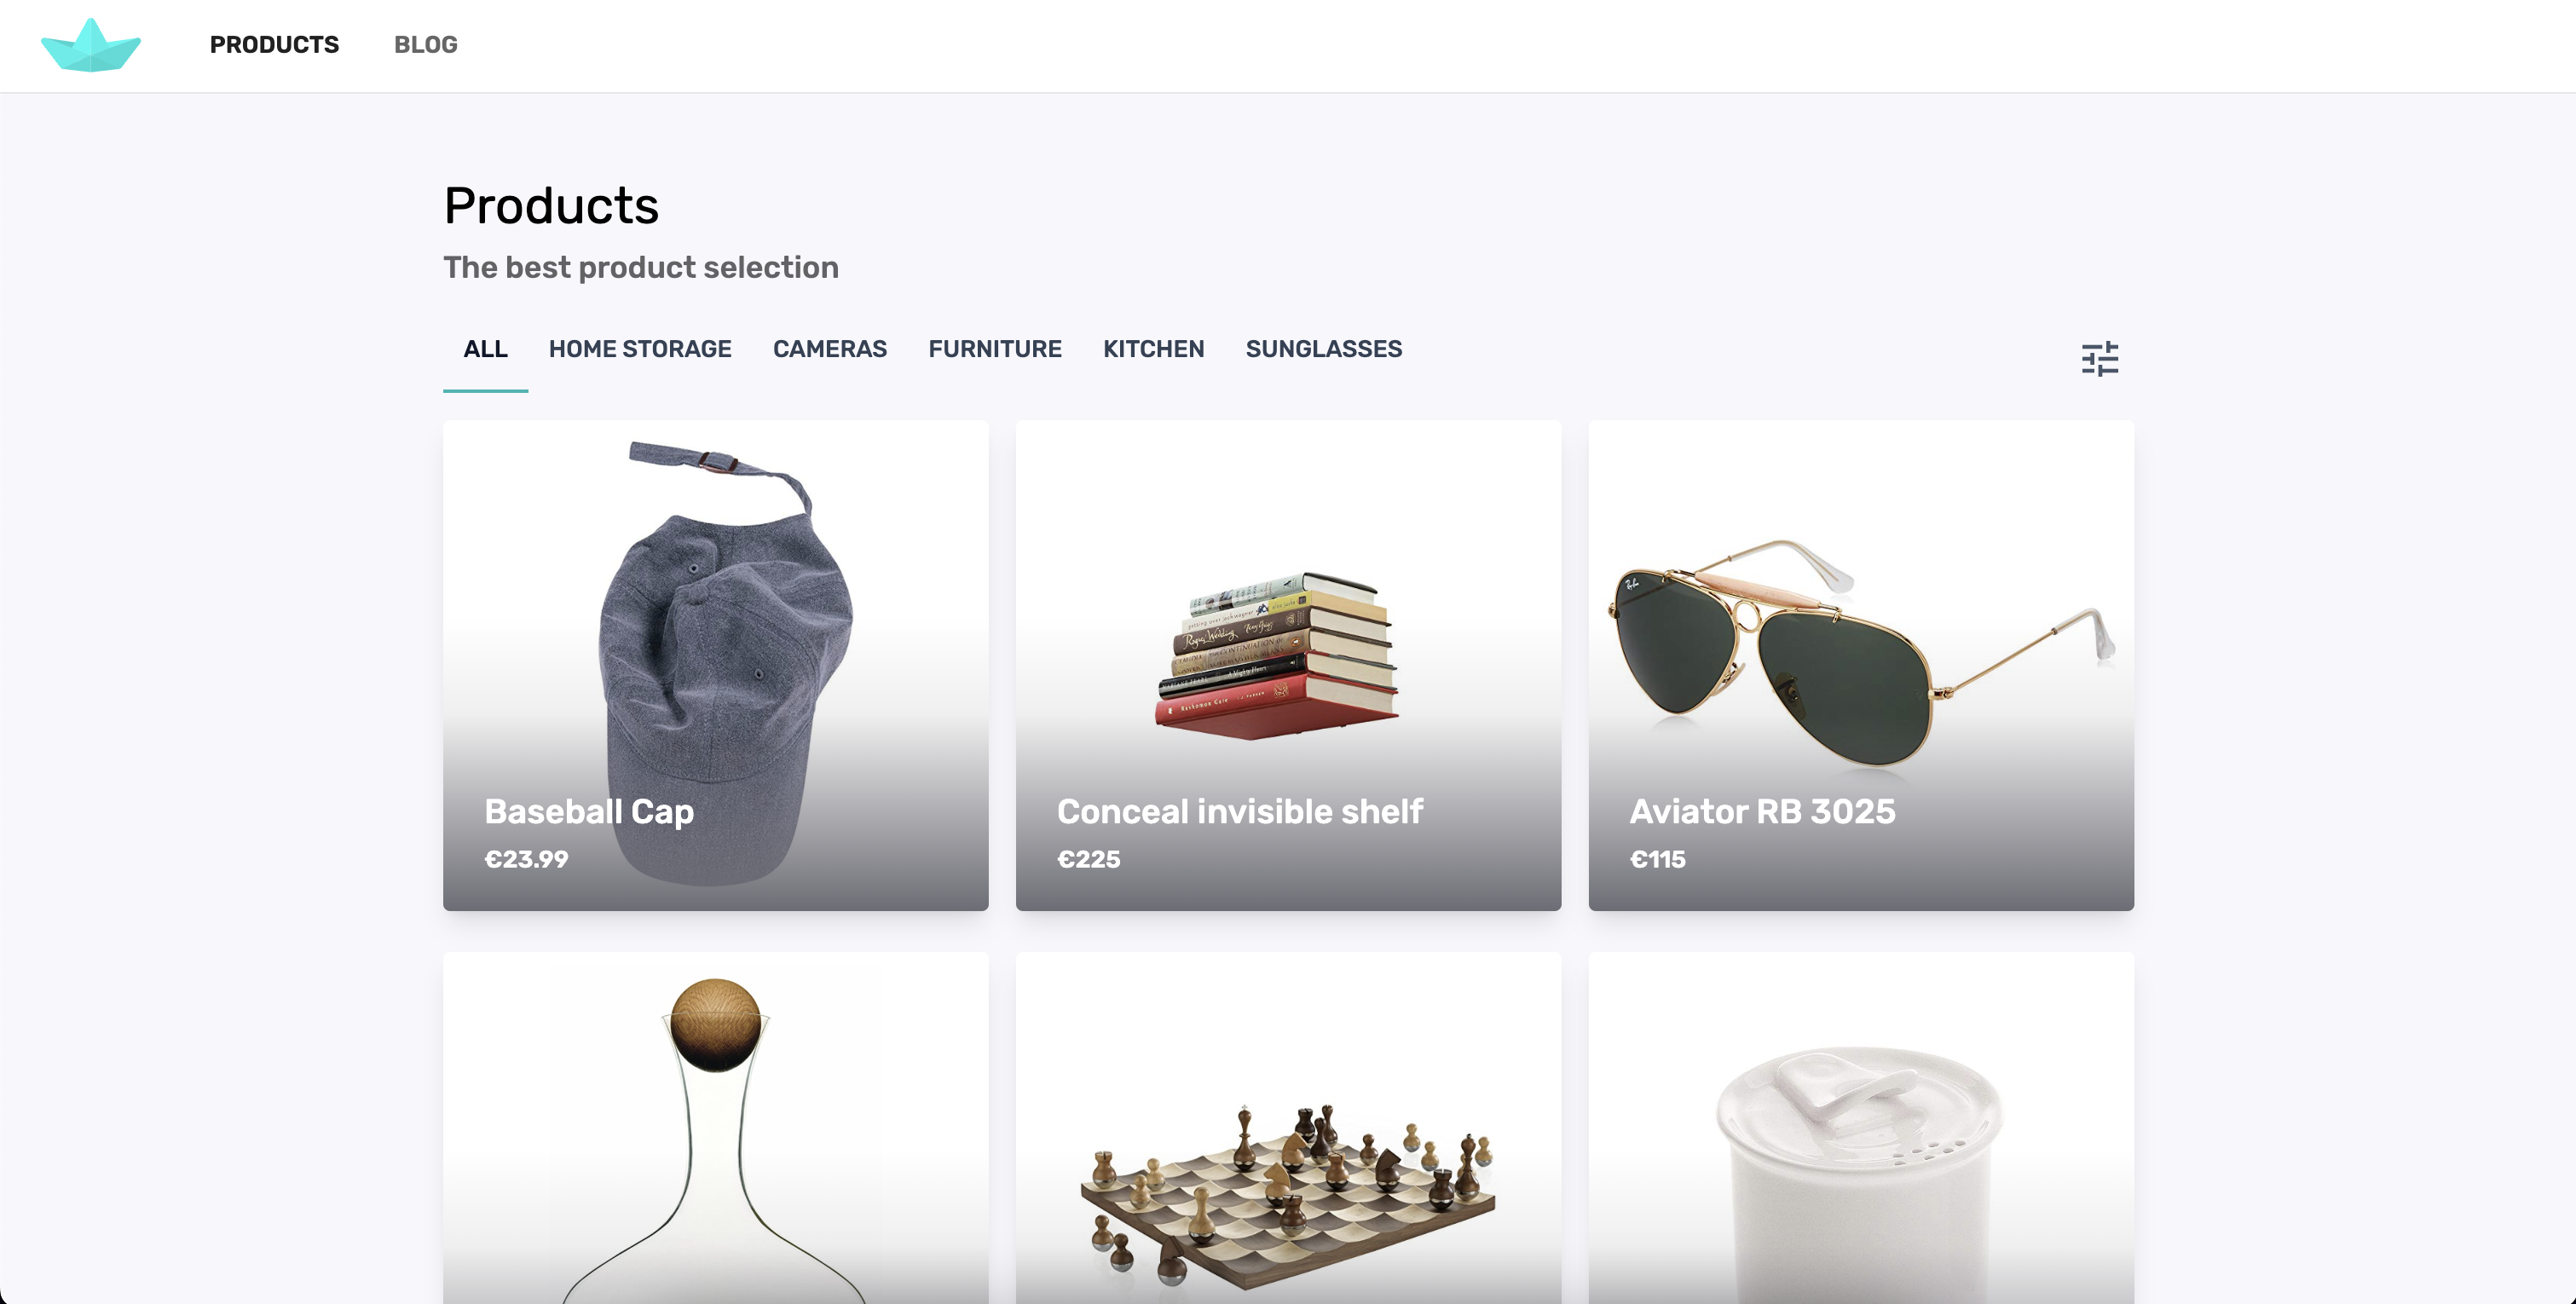
You can change the data in the demo and see the updates, but it gets reset every hour.
Get a frontend template with sample CRUD views that include:
- Integration with Firebase and FireCMS. Reuse components both in frontend and admin panel.
- Live preview: see how the changes in the CMS will be reflected in the website, using the exact same code.
- UI implemented with tailwindcss and Radix UI components.
- Advanced filtering options
- Data fetch on scrolling.
- Storing filter state in URL.
This template is extremely easy to customize to your needs.
Using the FireCMS PRO starter template
Section titled “Using the FireCMS PRO starter template”The easiest way to use FireCMS with Next.js is to use the FireCMS PRO starter template. This template includes a Next.js project with FireCMS already configured.
You can create a new project using the FireCMS PRO template by running:
npx create-firecms-appor
yarn create firecms-appand select the FireCMS PRO with Next.js frontend template.
Then follow the instructions on the screen to create your project.
What you get
Section titled “What you get”The code that will be generated for you is a Next.JS project split in 3 parts:
- A FireCMS instance to manage your data.
- A frontend app that implements CRUD functionality for a products collection, as well as a blog view.
- A common folder with shared components.
Setting up FireCMS with Next.js manually
Section titled “Setting up FireCMS with Next.js manually”You can use FireCMS with Next.js. FireCMS is a React library, so you can use it with any React framework.
In the case of Next.js, you are restricted to running FireCMS on the client side, as Next.js does not support server side rendering of some of the React components used by FireCMS.
Let’s build an app using FireCMS and Next.js, with the app router configured to delegate all the routes starting with /cms to FireCMS.
Create a Next.js project
Section titled “Create a Next.js project”Start by creating your Next.js project:
npx create-next-app@latestSelect:
- TypeScript as the language
- ESLint as the linter
- Tailwind CSS as the CSS framework
- src as the root directory
- Yes to the app router prompt
- Yes to customize the default import alias (optional)
Install FireCMS
Section titled “Install FireCMS”Then we are going to install FireCMS PRO. Note that we will not be adding all the plugins like the collection editor or data enhancement, but you can add them as needed.
Then install FireCMS and its dependencies:
yarn add firebase@^10 @firecms/core@^3.0.0-beta @firecms/firebase@^3.0.0-beta react-router@^6 react-router-dom@^6 @tailwindcss/typography typeface-rubik @fontsource/jetbrains-monoNow let’s import the tailwind config of FireCMS. Add the FireCMS preset tailwind.config.js, as well as the content paths to FireCMS source code, so the right tailwind classes are picked.
import fireCMSConfig from "@firecms/ui/tailwind.config.js";import type { Config } from "tailwindcss";
const config: Config = {  presets: [fireCMSConfig],  content: [    "./src/pages/**/*.{js,ts,jsx,tsx,mdx}",    "./src/components/**/*.{js,ts,jsx,tsx,mdx}",    "./src/app/**/*.{js,ts,jsx,tsx,mdx}",    "./src/cms/**/*.{js,ts,jsx,tsx,mdx}",    "./node_modules/@firecms/**/*.{js,ts,jsx,tsx}"  ]};export default config;
Disable yarn pnp (optional)
Section titled “Disable yarn pnp (optional)”We prefer disabling yarn pnp for this project. You can do this by creating the file .yarnrc in the root of your project with the following content:
nodeLinker: node-modulesConfiguring the App router
Section titled “Configuring the App router”Next.js uses a file-based router. In this guide, we will be creating the FireCMS app in the /cms route, but you can customize this to your needs.
FireCMS uses react-router, so we need to configure Next.js to delegate all the routes starting with /cms to FireCMS.
In our app folder, we create a folder called cms and inside it another one called [[...path]]. This will match any route starting with /cms.
Then create the file cms/[[...path]]/page.tsx with the following content:
If you are not running FireCMS in the root path of your app, you need to set the basePath prop to the path where you are running it. In this case, we are running it in /cms.
"use client";import { FireCMSApp } from "@/cms/FireCMSApp";import { FireCMSRouter } from "@firecms/core";
export default function CMS() {    return <FireCMSRouter basePath={"/cms"}>        <FireCMSApp/>    </FireCMSRouter>;}
Creating the CMS
Section titled “Creating the CMS”Now let’s create the FireCMS components. Create the file ./src/cms/FireCMSApp.tsx with the following content. Remember to replace the firebaseConfig with your own Firebase configuration.
"use client";import React, { useCallback } from "react";
import "./index.css";import "typeface-rubik";import "@fontsource/jetbrains-mono";
import {    AppBar,    buildCollection,    CircularProgressCenter,    Drawer,    FireCMS,    ModeControllerProvider,    NavigationRoutes,    Scaffold,    SideDialogs,    SnackbarProvider,    useBuildLocalConfigurationPersistence,    useBuildModeController,    useBuildNavigationController,    useValidateAuthenticator} from "@firecms/core";import {    FirebaseAuthController,    FirebaseLoginView,    FirebaseSignInProvider,    useFirebaseAuthController,    useFirebaseStorageSource,    useFirestoreDelegate,    useInitialiseFirebase,} from "@firecms/firebase";import { useImportPlugin } from "@firecms/data_import";import { useExportPlugin } from "@firecms/data_export";import { useBuildUserManagement, userManagementAdminViews, useUserManagementPlugin } from "@firecms/user_management";import { useFirestoreCollectionsConfigController } from "@firecms/collection_editor_firebase";import { mergeCollections, useCollectionEditorPlugin } from "@firecms/collection_editor";
//TODO: replace with your own Firebase configexport const firebaseConfig = {    //...};
const categories = {    fiction: "Fiction",    drama: "Drama",    "fantasy-fiction": "Fantasy fiction",    history: "History",    religion: "Religion",    "self-help": "Self-Help",    "comics-graphic-novels": "Comics & Graphic Novels",    "juvenile-fiction": "Juvenile Fiction",    philosophy: "Philosophy",    fantasy: "Fantasy",    education: "Education",    science: "Science",    medical: "Medical",    cooking: "Cooking",    travel: "Travel"};
const booksCollection = buildCollection({    name: "Books",    singularName: "Book",    id: "books",    path: "books",    icon: "MenuBook",    group: "Content",    textSearchEnabled: true,    description: "Example of a books collection that allows data enhancement through the use of the **OpenAI plugin**",    properties: {        title: {            name: "Title",            validation: { required: true },            dataType: "string"        },        authors: {            name: "Authors",            dataType: "string"        },        description: {            name: "Description",            dataType: "string",            multiline: true        },        spanish_description: {            name: "Spanish description",            dataType: "string",            multiline: true        },        thumbnail: {            name: "Thumbnail",            dataType: "string",            url: "image"        },        category: {            name: "Category",            dataType: "string",            enumValues: categories        },        tags: {            name: "Tags",            dataType: "array",            of: {                dataType: "string"            }        },        published_year: {            name: "Published Year",            dataType: "number",            validation: {                integer: true,                min: 0            }        },        num_pages: {            name: "Num pages",            dataType: "number"        },        created_at: {            name: "Created at",            dataType: "date",            autoValue: "on_create"        }    }});
export function FireCMSApp() {
    const {        firebaseApp,        firebaseConfigLoading,        configError    } = useInitialiseFirebase({        firebaseConfig    });
    // Controller used to manage the dark or light color mode    const modeController = useBuildModeController();
    const signInOptions: FirebaseSignInProvider[] = ["google.com"];
    // Controller for saving some user preferences locally.    const userConfigPersistence = useBuildLocalConfigurationPersistence();
    // Delegate used for fetching and saving data in Firestore    const firestoreDelegate = useFirestoreDelegate({        firebaseApp    });
    // Controller used for saving and fetching files in storage    const storageSource = useFirebaseStorageSource({        firebaseApp    });
    const collectionConfigController = useFirestoreCollectionsConfigController({        firebaseApp    });
    // controller in charge of user management    const userManagement = useBuildUserManagement({        dataSourceDelegate: firestoreDelegate,    });
    // Controller for managing authentication    const authController: FirebaseAuthController = useFirebaseAuthController({        firebaseApp,        signInOptions,        loading: userManagement.loading,        defineRolesFor: userManagement.defineRolesFor    });
    const {        authLoading,        canAccessMainView,        notAllowedError    } = useValidateAuthenticator({        disabled: userManagement.loading,        authenticator: userManagement.authenticator,        authController,        // authenticator: myAuthenticator,        dataSourceDelegate: firestoreDelegate,        storageSource    });
    const collectionsBuilder = useCallback(() => {        const collections = [            booksCollection,            // Your collections here        ];        return mergeCollections(collections, collectionConfigController.collections ?? []);    }, [collectionConfigController.collections]);
    const navigationController = useBuildNavigationController({        basePath: "/",        collections: collectionsBuilder,        collectionPermissions: userManagement.collectionPermissions,        adminViews: userManagementAdminViews,        authController,        dataSourceDelegate: firestoreDelegate    });
    const userManagementPlugin = useUserManagementPlugin({ userManagement });
    const importPlugin = useImportPlugin();    const exportPlugin = useExportPlugin();
    const collectionEditorPlugin = useCollectionEditorPlugin({        collectionConfigController    });
    if (firebaseConfigLoading || !firebaseApp) {        return <><CircularProgressCenter/></>;    }
    if (configError) {        return <>{configError}</>;    }    return (        <SnackbarProvider>            <ModeControllerProvider value={modeController}>                <FireCMS                    navigationController={navigationController}                    authController={authController}                    userConfigPersistence={userConfigPersistence}                    dataSourceDelegate={firestoreDelegate}                    storageSource={storageSource}                    plugins={[importPlugin, exportPlugin, userManagementPlugin, collectionEditorPlugin]}                >                    {({                          context,                          loading                      }) => {
                        if (loading || authLoading) {                            return <CircularProgressCenter size={"large"}/>;                        }                        if (!canAccessMainView) {                            return <FirebaseLoginView authController={authController}                                                      firebaseApp={firebaseApp}                                                      signInOptions={signInOptions}                                                      notAllowedError={notAllowedError}/>;                        }
                        return <Scaffold                            autoOpenDrawer={false}>                            <AppBar title={"My demo app"}/>                            <Drawer/>                            <NavigationRoutes/>                            <SideDialogs/>                        </Scaffold>;                    }}                </FireCMS>            </ModeControllerProvider>        </SnackbarProvider>    );
}
Import the default FireCMS styles
Section titled “Import the default FireCMS styles”Create a file called index.css in the ./src/cms folder with the following content:
@import "@firecms/ui/index.css";@tailwind base;@tailwind components;@tailwind utilities;
:root {    --color-primary: #0070F4;    --color-secondary: #FF5B79;}
a { @apply text-blue-600 dark:text-blue-400 dark:hover:text-blue-600 hover:text-blue-800}Then simply run:
yarn devand navigate to http://localhost:3000/cms to see your FireCMS app running.
Some considerations
Section titled “Some considerations”- Images are loaded differently in Next.js.
You get a
StaticImageDatainstead of the image URL (as in vite). You can use it in FireCMS components that expect a URL like, using thesrcproperty:
import logo from "./logo.png";
<FirebaseLoginView    logo={logo.src}/>